piDrive
Well, I´m very happy with the piDrive I got as pledge from the Kickstarter campaign. Work nice and smooth on a 24/7 base in my personal webserver. But while building some other stuff with Raspberries I had a demand for some more piDrives. Unfortunately the maker of the Kickstarter campaign no longer response, there webpage has not seen any updates for month, almost a year, and there shop shows the piDrive anytime out of stock.
So I fired up my layout tool and put together my own piDrive design, similar to the original one, also based on PL-2571B.
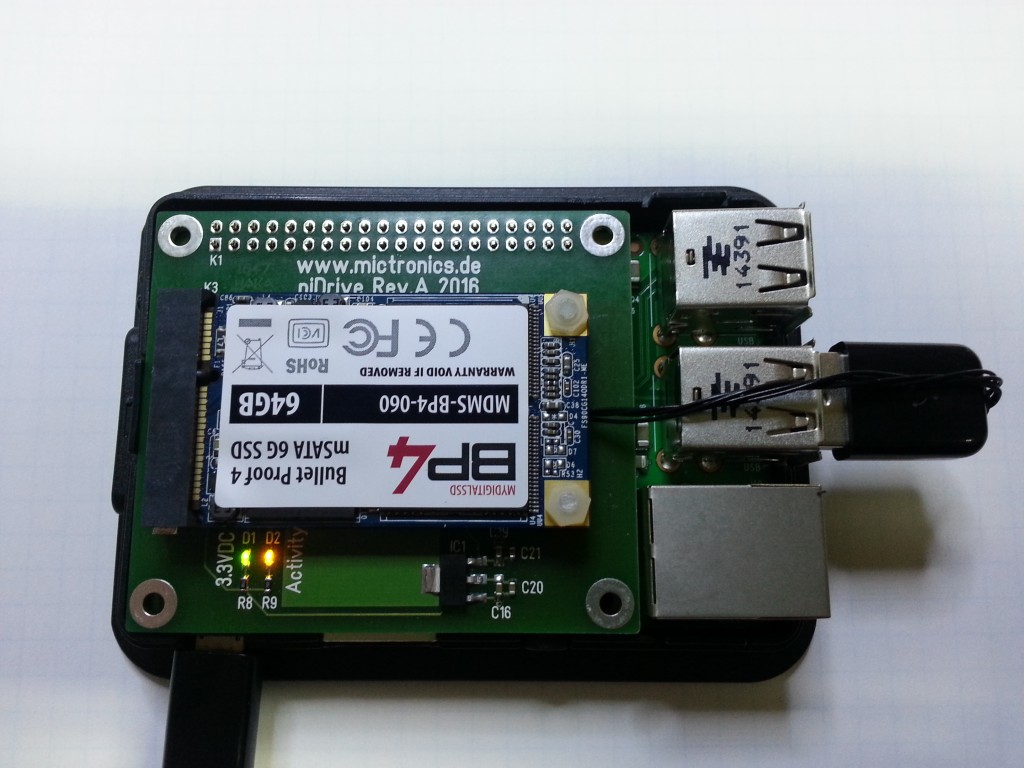
That´s a first prototype. USB wiring is maybe an object to change.
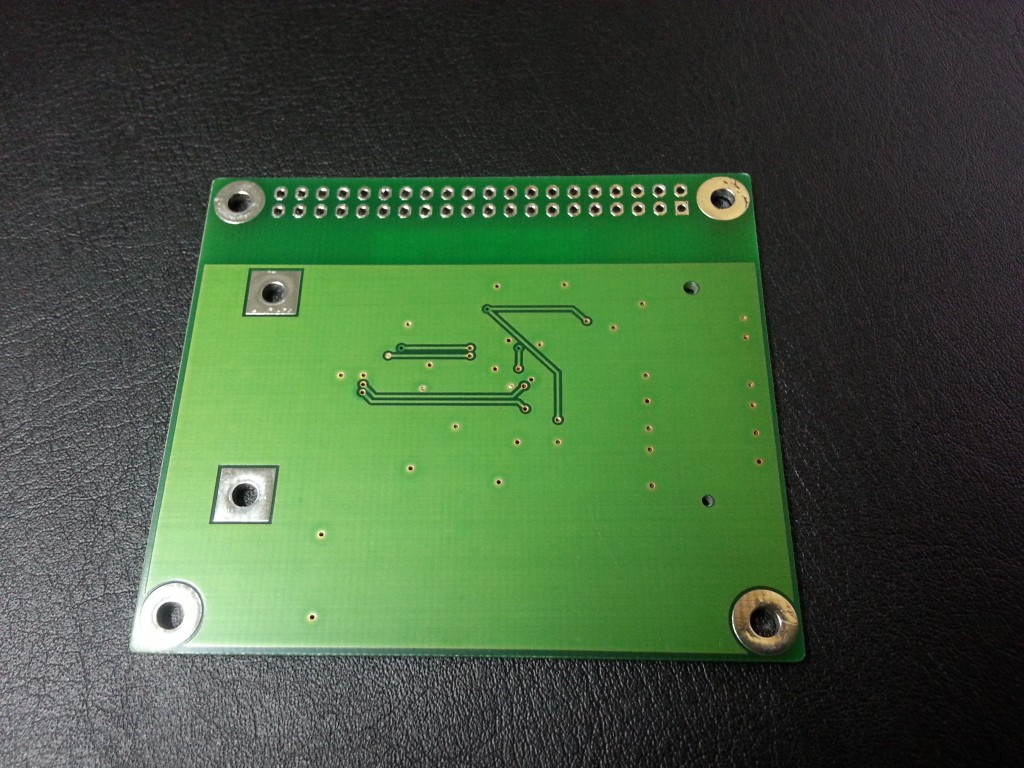
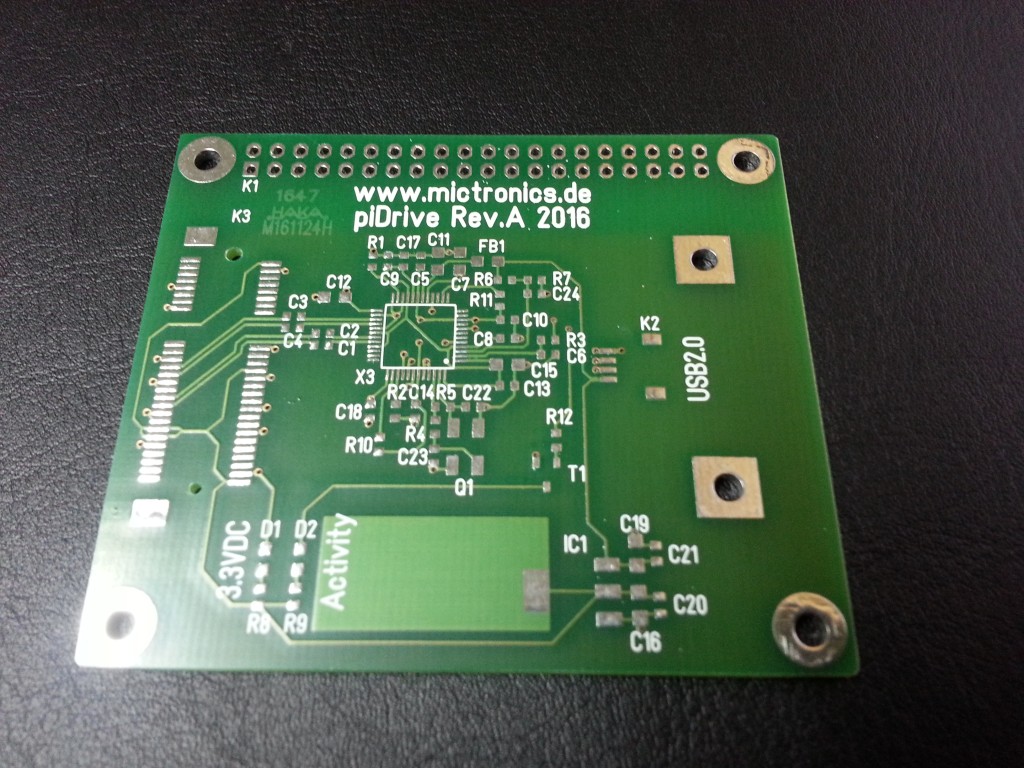
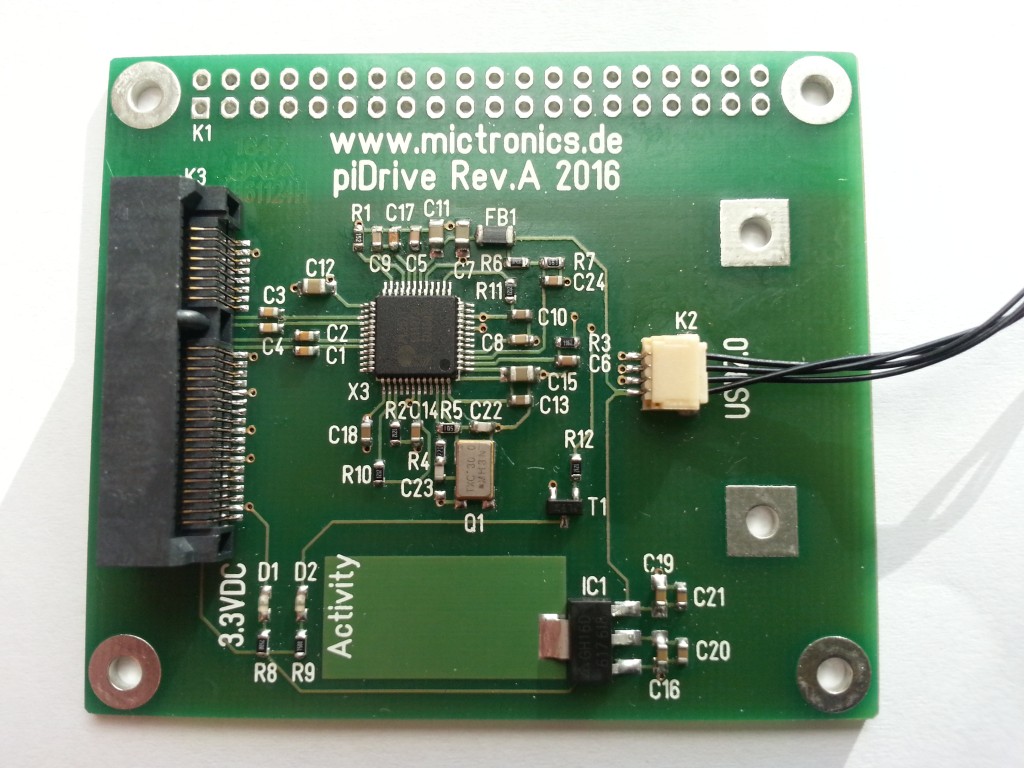
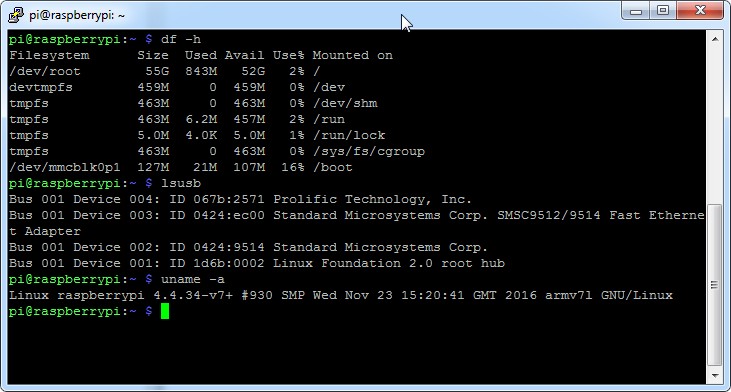
Setting up the piDrive is a simple task. Required is microSD card of at least 128MB size, the SD image below and an actual Raspberry PI OS image of your choice.
Step by step:
- Download the microSD image.
- Download a RaspBerry Pi OS image of your choice. Check raspberrypi.org
- Connect both, the microSD card and the piDrive to a PC by USB.
- Write the microSD image to the card.
- Write the Raspberry Pi OS to the piDrive. For both task you may use
ddon Linux or Win32DiskImager on Windows. - Put the microSD card in and connect the piDrive to your Raspberry Pi.
- On first power up the init script will automatically resize the root disk, that is /dev/sda2, and you should see a blue message when connected to a monitor. After resizing the Pi reboots itself one more time.
- The second boot should bring you the login prompt if everything goes well.
Note: The microSD image will enable SSH by default.
👈 Home
